How to Apply or Remove Thermal Interface Material (TIM)
Thermal interface material (TIM) provides efficient thermal exchange between the processor Integrated Heat Spreader (IHS) and the fan-heatsink. Proper installation of the TIM is crucial to the success of the processor and fan-heatsink integration process.

Click or the topic for details:
Do I need more TIM?
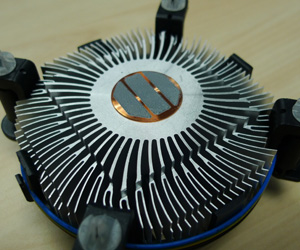
Most thermal solutions for Intel® Boxed Desktop Processors ship with the TIM already applied to the bottom of the fan-heatsink in a 3-bar application. If your fan-heatsink has pre-applied TIM, there is no need to apply extra TIM.
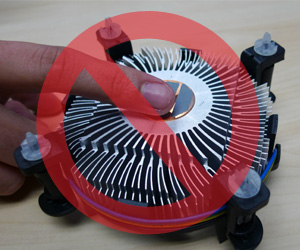
| Note | Do not touch the TIM. Introducing any foreign substances to the TIM can reduce effectiveness of the thermal contact. |
When do I need to reapply TIM?
A good guideline is to replace the TIM if you reinstall the processor or fan-heatsink. Proper application of the TIM is crucial to the success of the thermal solution. Failure to apply TIM can cause the processor to:
- Shut down
- Operate inefficiently
- Overheat
Where can I purchase TIM?
You can order TIM replacement kits through:
- Intel Customer Support, part number G15816-001 for the pillow pack
- Retail sites like Newegg* or other online retailers
How to apply TIM
| Step 1 | 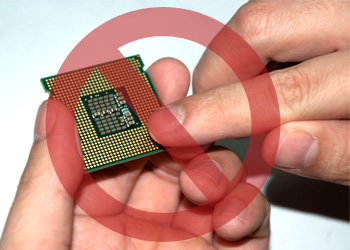 | Clean and install the processor Be careful not to touch the gold contacts at the bottom of the CPU. | |
 | Using a soft and dry cloth or tissue, completely remove previously applied TIM. Make sure the integrated heat spreader is free from oil, dust, and any other debris.
| ||
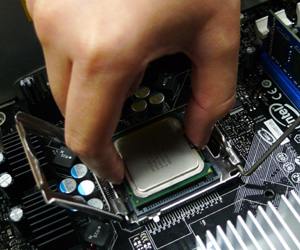 | Install the processor in the socket. See the related topics below if you have questions about installing the processor. | ||
| Step 2 | 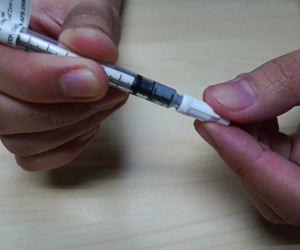 | Prepare the TIM If you are using a syringe, open the tip by twisting off the cap. | |
 | Inject the TIM from the syringe to the center of the processor IHS surface. | ||
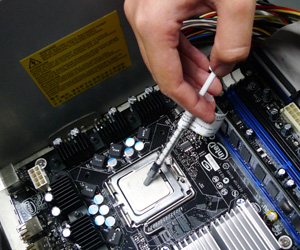
| Step 3 | 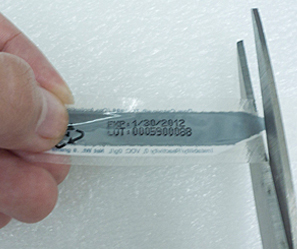 | If you are using a pillow pack, cut the package on the dotted black line. | |
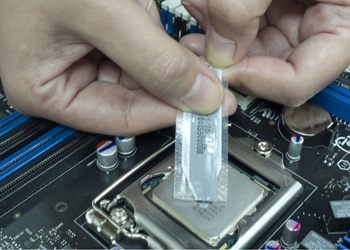 | Dispense the TIM from the pillow pack to the center of the processor surface. | ||
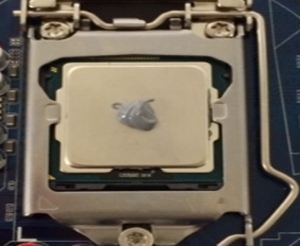 | This image shows the approximate amount to apply to the processor topside. If using a pillow pack, you might leave some residual TIM in the package. When the processor is operating, the heat spreads the TIM across the top of the processor IHS and the bottom of the fan-heatsink. | ||
| Step 4 | 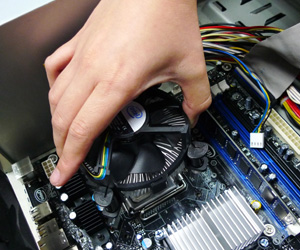 | Install the heatsink See the related topics below if you have questions about installing the heatsink. |
How to remove TIM
| Step 1 | 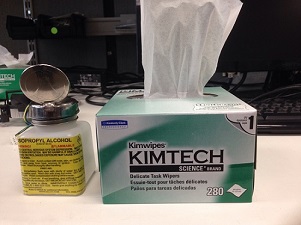 | Use both:
|
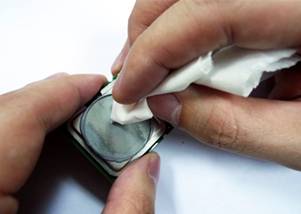
| Step 2 | | Dip the wiper in the isopropyl alcohol and gently remove the TIM from the surface of the processor integrated heat spreader (IHS). Wait for a while until the alcohol dry/dissipate before installation/reinstallation of the processor. |
| Step 3 |  | If there is TIM in the back of the processor, clean it gently Dip the wiper in the isopropyl alcohol and gently remove the TIM from the bottom of the processor. Wait for a while until the alcohol dry/dissipate before installation/reinstallation the processor. |